Make Your Old Brass Handles Look New Again
If you’ve ever looked at a brass door handle and wondered how it went from shining centrepiece to dull and blotchy, you’re definitely not alone. It happens slowly, so you might not notice it right away – but once that tarnish takes hold, it’s pretty hard to ignore. The good news is, you don’t need to replace it just yet. Whether you’re trying to restore brass handles as part of a weekend DIY, or you’re helping a client breathe new life into tired-looking details, the right approach can make those handles gleam like new again. And honestly, it's easier than it looks.
Why Brass Handles Lose Their Shine

So, what actually makes your brass door handle lose its glow? It’s mostly down to air, moisture, and fingerprints. Brass naturally reacts with oxygen, and if there's any dampness around (say, from hands or humidity), it speeds things up. Over time, that reaction builds up as tarnish.
Now, whether your handles are lacquered or not makes a difference. Lacquered finishes have a clear protective coat that helps delay tarnishing. Once that layer chips or wears off, though, oxidation takes over. Unlacquered brass, on the other hand, is meant to age – but that doesn’t mean it has to stay dull.
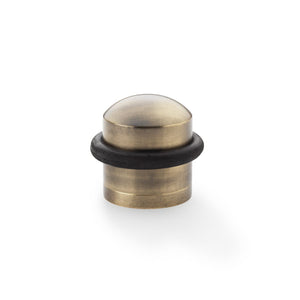
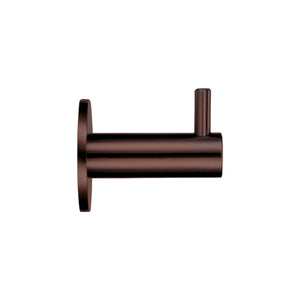
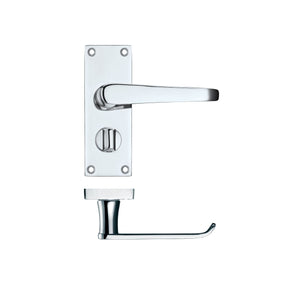
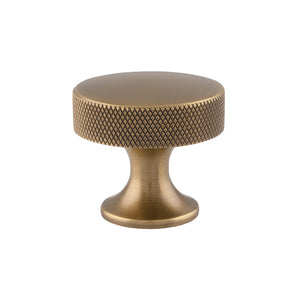
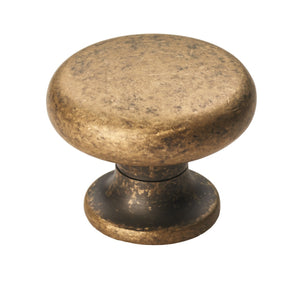
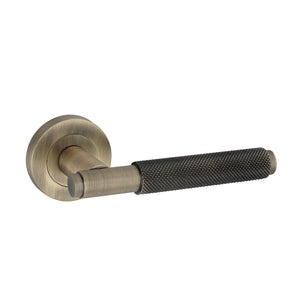
If you're aiming for a timeless look, our antique brass door accessories do the ageing gracefully – but even they benefit from the occasional refresh.
What You’ll Need to Get Started
Before you get stuck in, it’s worth laying everything out. You probably have most of this stuff already – and if not, it’s nothing fancy.
- Soft cloths – for wiping, drying, and buffing
- Mild soap – something gentle, like washing-up liquid
- Toothbrush – ideally soft-bristled, for the fiddly bits
- Rubber gloves – helps keep things clean and your hands safe
- Natural brass cleaner – lemon juice or white vinegar both work
- Baking soda – a great partner for lemon or vinegar
- Commercial brass cleaner – something like Brasso or Peek, if you’ve got it
So, whether you prefer the natural brass cleaner route or a trusted commercial brass cleaner, either way, you're ready to restore brass handles without the faff.
Step-by-Step: Restoring the Finish

Now for the part that actually brings back the shine. This whole process can take less than an hour, depending on how many handles you’re tackling – and it’s usually quite satisfying too.
1. Remove the handles (if you can)
It’s not essential, but unscrewing the handles makes things easier and stops any cleaner from damaging your doors.
2. Wash with mild soap and water
Use a cloth and soapy water to get rid of everyday grime. Don’t skip this – cleaning off dirt first gives your method a better chance of working.
3. Choose your cleaning method
Now, go either natural or commercial:
-
Natural brass cleaner: Squeeze lemon juice onto the brass, then sprinkle on baking soda. Let it fizz for a few seconds, then scrub gently with a toothbrush.
-
Vinegar option: Mix vinegar and salt into a paste, apply with a cloth and leave for a few minutes.
-
Commercial brass cleaner: Apply as directed – usually with a cloth and some elbow grease.
4. Rinse and dry thoroughly
Use clean water to rinse, then dry completely. Damp brass re-tarnishes quickly, so this bit matters more than it seems.
5. Optional: Final polish
Want that mirror-finish look? Give it a go with a microfibre cloth or an extra dab of polish. It makes a big difference in polishing brass hardware.
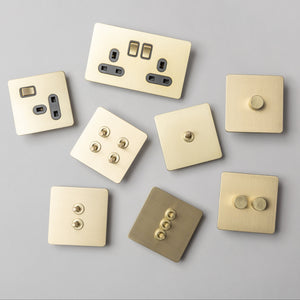
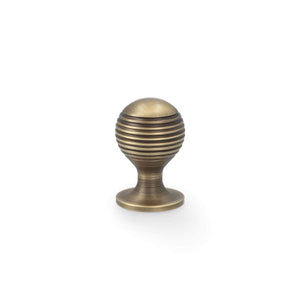
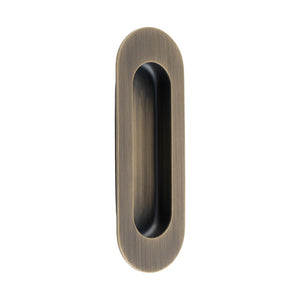
Looking for a handle that’s easier to care for long term? You might like our brass finish collection – easier to clean and just as lovely.
Natural vs Commercial Cleaning Methods
Both natural brass cleaners and commercial brass cleaners do the job – it just depends how hands-on you want to be and what’s in your cupboard.
|
Method |
Pros |
Cons |
|
Lemon & Baking Soda |
- Cheap and easy - Non-toxic - Surprisingly effective |
- Needs elbow grease - Can scratch if overused |
|
Vinegar & Salt Paste |
- Good for heavy tarnish - Widely available |
- Strong smell - Not great on lacquered brass |
|
Commercial Brass Cleaner |
- Quick results - Minimal effort - Leaves high shine |
- Can contain harsh chemicals - Costs more than homemade methods |
So, if you’re cleaning something delicate or you just like knowing what’s in your products, natural’s probably your best bet. But if speed and shine matter more, commercial brass cleaners definitely earn their place.
How to Protect Brass After Cleaning

Now that your brass door handle looks fresh again, it’s worth helping it stay that way. Tarnish will come back eventually – but with a bit of upkeep, you can slow it right down.
First off, give your handles a regular once-over with a soft cloth. A quick wipe every week stops grime and moisture from building up. Second, try adding a thin coat of clear wax or even beeswax – this forms a protective layer without changing the look. It’s a simple way to keep things shiny.
Avoid anything too harsh, like bleach or ammonia-based sprays. They’ll wear down the surface and undo your hard work.
For a longer-term fix, make protecting brass door handles part of your monthly routine. It doesn’t need to be fussy – just consistent.
When Restoration Might Not Be Enough
Sometimes, no amount of scrubbing will fix a handle that’s just… had it. If the surface feels pitted, dented, or the tarnish won’t budge no matter what you try, it might be time to call it.
Deep corrosion – especially if it's eaten into the metal – can’t really be polished out. And if the handle feels loose or wobbly after refitting, it could be more hassle than it's worth to repair.
In those cases, replacing it doesn’t mean giving up – it’s just the smarter option. Our collections have plenty of updated styles that still nod to tradition, without the upkeep.
It’s not about scrapping character. It’s about knowing when fresh is better than fixable.