Keep Your Handles Looking New: Care Tips for Every Style and Finish
It’s strange how something you touch every day can fade into the background. Door handles – they’re everywhere, yet most of us don’t think about them until one stops working or starts looking, well, a bit worse for wear. But if you’ve invested in handles that actually look good and feel right, whether that’s sleek matt black or shiny brass, they deserve a bit of looking after. Keeping them clean isn’t just about making them look nice ,either. It’s also about keeping germs at bay and making sure you’re not replacing them more often than you need to.
So, if you’re the type who notices when details feel off – or just likes things to last – these tips might be exactly what your handles have been waiting for.
Why Handle Care Matters
Handles don’t just catch fingerprints – they quietly collect grime, moisture and, not to be dramatic, a lot of bacteria. In homes with kids or heavy footfall, this builds up faster than you’d expect. The trouble is, poor maintenance doesn’t just leave them looking dull – it can wear down finishes and cause materials to tarnish, pit or discolour.
And then there’s the money bit. Replacing hardware too often – especially when you’ve gone for a finish that isn’t the bog-standard type – isn’t cheap. But the right cleaning habits can stretch the lifespan of your door handles significantly. You keep the finish intact, the mechanism smooth, and the overall look of your home that little bit sharper.
So really, it’s one of those small routines that pay off quietly in the background.
Basic Cleaning Tips

Most handles, regardless of finish or material, respond well to the same few gentle tricks:
- Use a soft microfiber cloth – something that won’t scratch or leave fibres behind
- Stick with warm water and mild soap – avoid anything too foamy or strong
- Dry immediately after cleaning – no air-drying or you might end up with water spots
- Don’t use anything abrasive – scouring pads and powdered cleansers are too harsh
- Avoid chemical sprays and bleach – these can react with protective coatings
- Clean around fixings carefully – too much water near screw holes = trouble later
Basically, if it wouldn’t be safe on your sunglasses, it probably shouldn’t touch your handles.
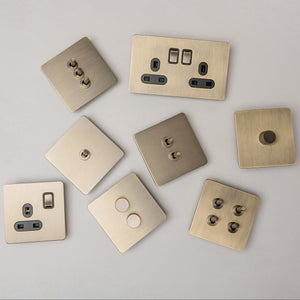
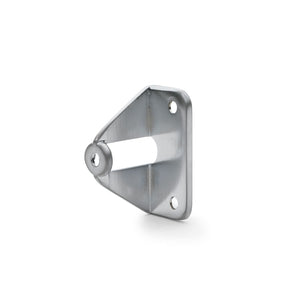
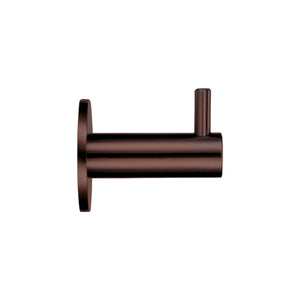
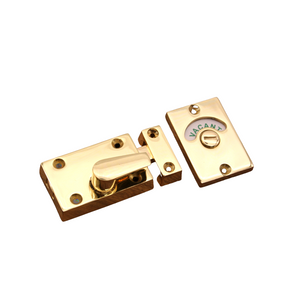
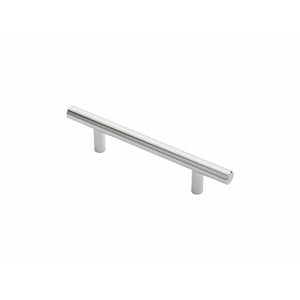
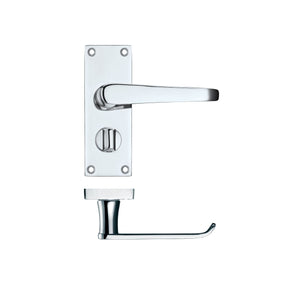
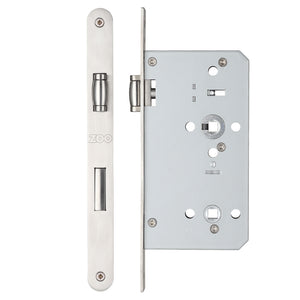
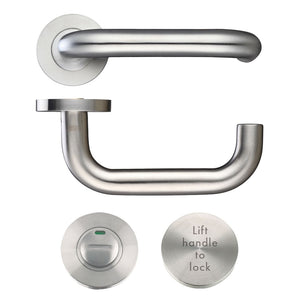
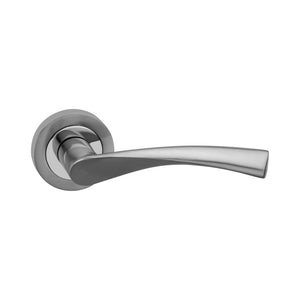
How to Clean Different Handle Materials
Now, the tricky part. Not every handle is made equal – some finishes love a gentle buff, others just sulk and smear.
Here’s a quick guide:
|
Material |
Cleaning Do |
Cleaning Don’t |
|
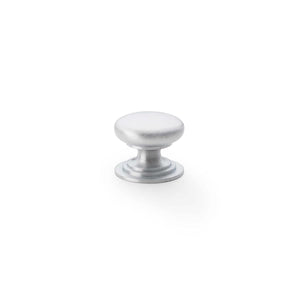
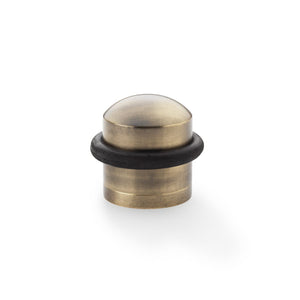
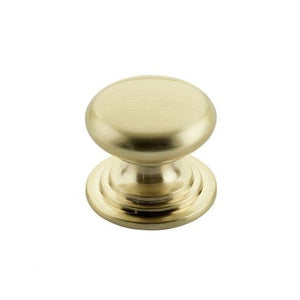
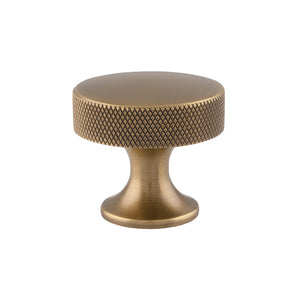
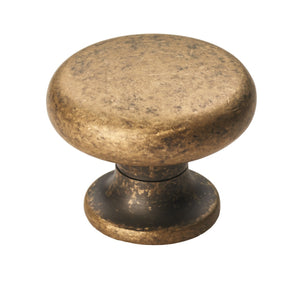
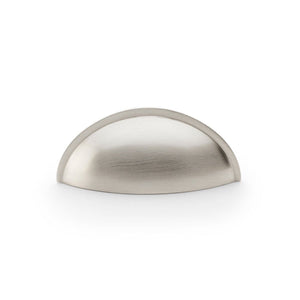
Brass |
Buff with lemon + baking soda paste, rinse |
Don't soak – tarnishing happens fast |
|
Stainless Steel |
Use diluted white vinegar for shine |
Avoid salt-based cleaners |
|
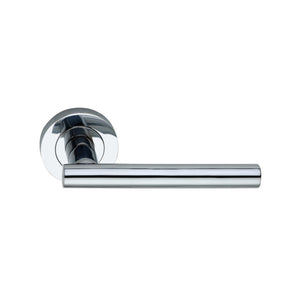
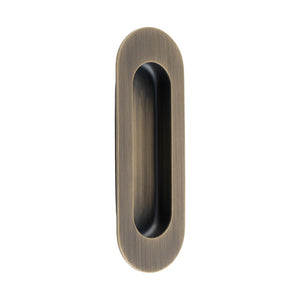
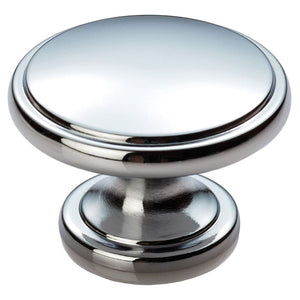
Chrome |
Wipe with warm soapy water, polish dry |
Don't use acidic solutions – it streaks |
|
Ceramic |
Soft damp cloth and non-alkaline soap |
Never scrub with hard brushes or sponges |
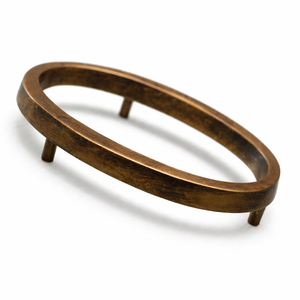
Different materials age differently, too. Brass, for example, develops a patina, which some love, others not so much. If you prefer the original finish, keep it dry and polished regularly.
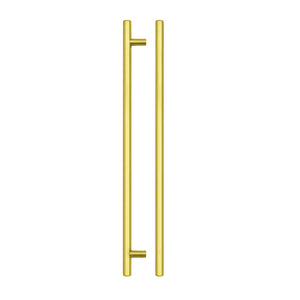
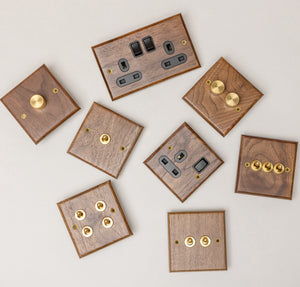
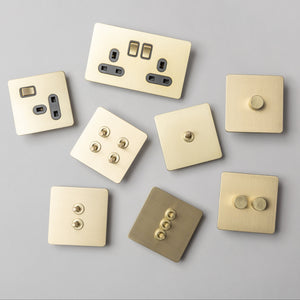
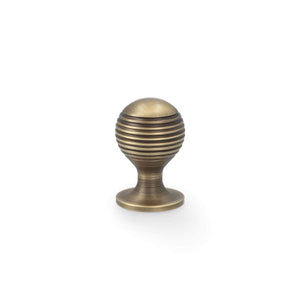
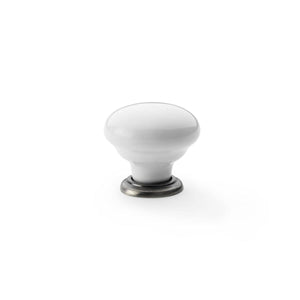
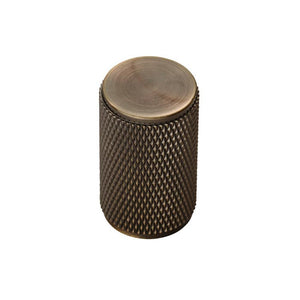
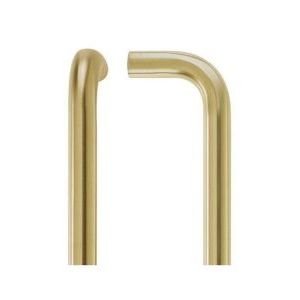
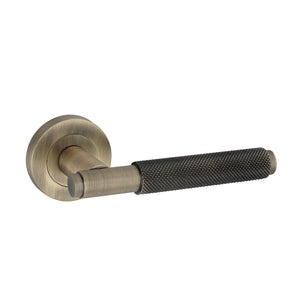
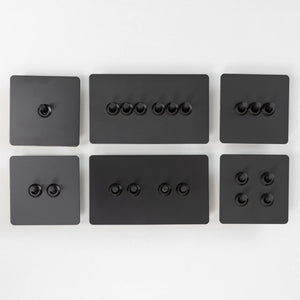
Looking After Different Finishes

This is where style meets upkeep. Certain finishes are more temperamental than others – matt black, for instance, is known for being fussy with fingerprints.
Here’s how to keep each finish looking good without much fuss:
- Matt black – Use a clean, dry cloth more often than wet ones. If needed, a very slightly damp cloth with a drop of baby shampoo works. Avoid oils and waxes completely.
- Satin – Wipe weekly with warm water and a tiny bit of mild soap. Always dry thoroughly to avoid marks.
- Polished – Needs polishing cloths and a soft touch. Micro-scratches show easily, so be gentle.
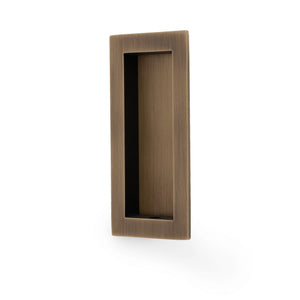
- Antique finishes – These tend to be more about charm than shine. Stick to dry cloths and avoid any cleaners unless the finish is sealed.
The trick here is consistency. Little-and-often cleaning stops big build-ups and protects whatever finish you’ve got.
How Often to Clean Handles
You don’t need a military-style schedule, but a basic rhythm helps keep everything looking tidy:
Weekly (or more in busy homes):
- Wipe down main handles: front door, kitchen, bathroom
- Check for sticky spots or visible dirt
- Dry after wiping
Monthly:
- Inspect all handles for wear or wobble
- Polish where needed
- Tighten screws if any are loose
Every 6 months:
- Deep clean and inspect all handles
- Consider re-coating or polishing older finishes
- Replace any that are worn, scratched or unreliable
Put simply, a bit of regular effort is usually easier than a full replacement job later.
When to Repair or Replace

Sometimes, even the best-maintained handles reach the end of the road. If you’re noticing these signs, it might be time to make a change:
- Handle feels loose or jiggles, even after tightening
- Visible rust or pitting that can’t be cleaned away
- Finish has worn off in patches
- Mechanism sticks or squeaks regularly
- You’re just not into the look anymore
A bit of oil or a new screw might sort some of these, but if the core’s worn out – or the finish is past rescuing – it could be more practical (and more satisfying) to browse some door handles and freshen things up completely.
Regular handle care might not be the most glamorous part of home upkeep, but it’s the kind of thing that adds up – quietly improving how your space feels and functions. So if you haven’t checked your handles in a while, now might be a good time. They do a lot of work – and with a little attention, they’ll keep doing it beautifully for years.