A Complete Guide to Hinges
Hinges don’t exactly shout for attention, yet they do a lot of the heavy lifting behind the scenes. Whether it’s that soft-close kitchen cabinet or a sturdy front door that never sags, hinges are quietly doing the work that keeps everything moving as it should.
So, whether you’re updating your home, planning a new build, or managing a project that needs to stay on schedule, getting the hinge right is more important than it seems. It’s not just about what fits – it’s what lasts, what looks right, and what works without fuss. And in plenty of cases, the right hinge can stop a job from turning into a headache later on.
In this guide, we’ll walk through the different types of hinges, what they’re best used for, and how to tell if they’re right for your doors, cabinets, or other fittings. You’ll also find a simple hinge installation guide, tips on finishes and materials that hold up better in damp or outdoor spaces, and how to fix squeaky hinges before they drive you round the bend.
It’s all here – practical, no-nonsense advice that works whether you’re a designer, a builder or just someone handy with a screwdriver.
Types of Hinges and Their Uses
It’s easy to overlook the hinge – until you use the wrong one. Each hinge type tends to suit a particular job, and using the right one can make a huge difference to how something looks and feels to use. Here’s a breakdown of the three most common types you’ll come across and why they matter.
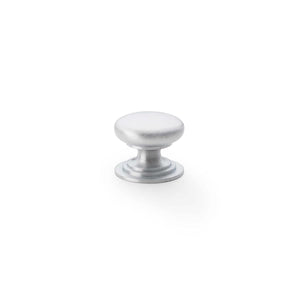
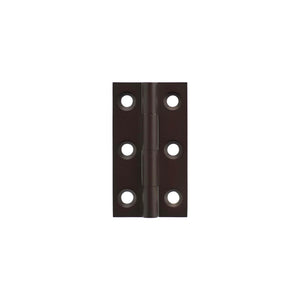
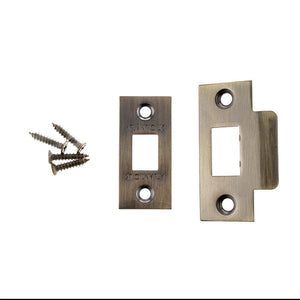
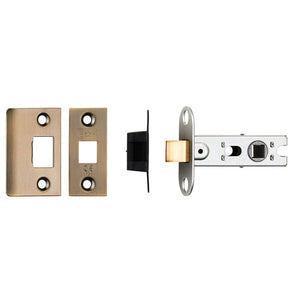
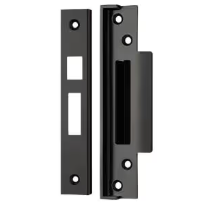
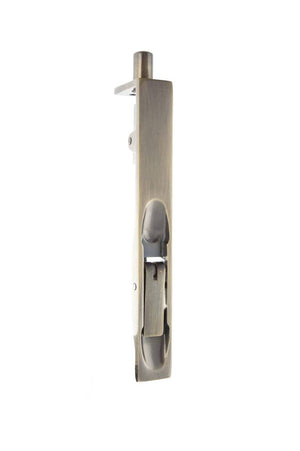
Butt Hinges
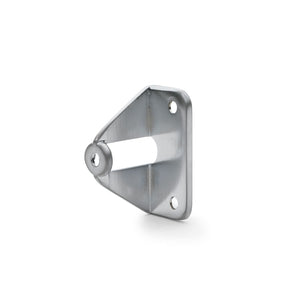
These are the hinges most people picture first – two plates connected by a pin, fixed to the edge of a door and its frame. Butt hinges are used everywhere from internal doors to heavy exterior ones, and you’ll see them on cupboards, gates, and wardrobes too.
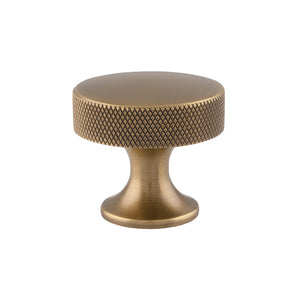
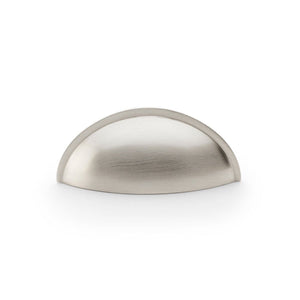
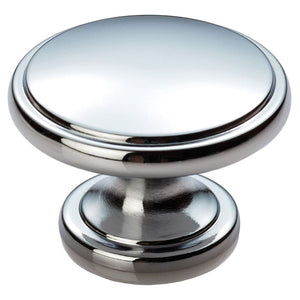
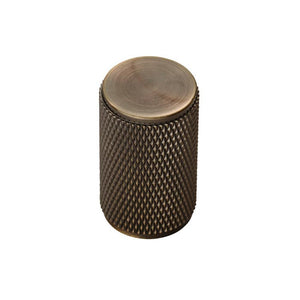
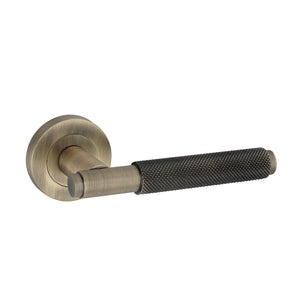
What makes them so useful is their sheer flexibility. They tend to support a fair bit of weight and, with the right material and screws, they last for years without fuss. You’ll often find rust-resistant hinges in this style, especially for exterior use. And if you’re after decorative door hinges, plenty of finishes are available – from brushed brass to matte black – to match your interior scheme.
Piano Hinges
Long and continuous, piano hinges (also called continuous hinges) run the full length of the panel or lid they’re attached to. Originally made for pianos (hence the name), they’re now a favourite in everything from storage trunks to utility cupboards.
These hinges help spread weight evenly along the full length of a door or lid, which makes them a solid choice for panels that get opened and closed a lot. They’re also handy when you want the hinge to be virtually invisible or when you're after something that offers uniform support.
They’re easy enough to install – just line them up, drill evenly spaced holes, and screw in place. For a neater finish, you can recess them slightly so they sit flush with the surface.
Concealed Hinges
You’ll find concealed hinges (sometimes called cup or Euro hinges) inside modern kitchen cabinets, flat-pack furniture, and plenty of new builds. They’re designed to stay hidden from view when the door is closed, which gives a cleaner and more seamless look.
These hinges are ideal for minimalist interiors or spaces where you want to avoid visible fixings. They often include a soft-close mechanism and allow for fine adjustments, which can help with alignment issues post-installation. That said, they can be a bit more fiddly to fit than traditional butt hinges – especially if you’re working on something that wasn’t pre-drilled.
Quick pros and cons:
-
Butt Hinges:
✔️ Strong, reliable, versatile
❌ Can be visible unless recessed -
Piano Hinges:
✔️ Distributes weight evenly, good for heavy lids
❌ Needs precision cutting to install cleanly -
Concealed Hinges:
✔️ Sleek look, hidden fixings, often soft-close
❌ Trickier to install, harder to replace
How to Choose the Right Hinge

Picking a hinge isn’t just a tick-box task. Get it wrong, and you might end up with a drooping door, a squeaky cupboard, or a rusty hinge that jams shut every time it rains. Here’s what’s worth considering before you reach for the drill.
Material and Durability
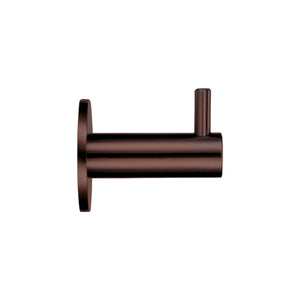
The metal your hinge is made from will affect everything from strength to lifespan. For damp or coastal areas, rust-resistant hinges made from stainless steel are a safer bet than mild steel ones. They tend to hold up better where there’s condensation or splashing – bathrooms, utility rooms, outdoor sheds and so on.
Brass is another common choice – it doesn’t rust, and it looks good too. That said, it’s softer than steel, so might not suit heavier doors. Nickel- or chrome-plated options give a sleeker finish, while powder-coated hinges can be matched to your colour scheme.
Weight and Load Capacity
This bit is often overlooked, but it matters a lot. Hinges carry the full weight of a door – so lighter cupboard doors might only need a couple of standard concealed hinges, while solid oak front doors need heavy-duty butt hinges (and probably three, not two).
If you’re unsure, check the hinge manufacturer’s weight rating, and match it to the door or lid it’ll support. Don’t forget to factor in regular use – the more a door swings, the stronger the hinge needs to be. You can find a breakdown of the best hinges for heavy doors here, which might help if you're dealing with particularly weighty timber or external doors.
Indoor vs. Outdoor Applications
Some hinges are just better suited for life outdoors. Exposure to moisture, temperature swings, and general wear means you’ll want something that won’t corrode or seize up. Rust-resistant coatings, galvanised steel, or stainless steel hinges work best here – especially on gates, garden sheds, or external doors.
Indoors, there’s a bit more leeway – but it still makes sense to match finishes to the room. For example, polished brass looks great in a period kitchen, while matte black pairs well with industrial or minimalist interiors.
Quick hinge selection tips:
-
Match hinge material to your environment (wet vs. dry)
-
Always check the weight the hinge can carry
-
For heavy or wide doors, use three hinges for extra stability
-
Decorative finishes can still be durable – just check the coating
-
Use the same finish across visible hardware for a consistent look
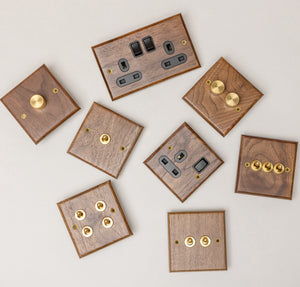
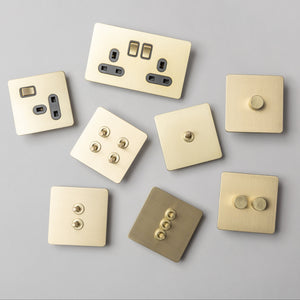
Common Hinge Materials and Finishes

Hinges aren’t all made equal – and what they’re made from plays a big part in how they last, feel, and look in your space. So before choosing based on finish alone, it’s worth getting to grips with what’s under the surface.
Stainless Steel vs. Brass
Stainless steel hinges are known for being tough, long-lasting, and resistant to rust. That makes them an obvious choice for bathrooms, outdoor buildings, or any area where moisture’s a factor. They can handle weight, too – so they’re often used on external doors, gates, and heavy cupboard doors.
Brass, on the other hand, offers a different kind of appeal. It doesn’t rust, and it brings a warmer tone to fittings – especially when left uncoated. However, it’s a softer metal, which means it’s more likely to scratch or mark over time. Still, for decorative door hinges in low-use areas, it brings a nice balance of form and function.
Rust-Resistant Coatings
For steel hinges that aren’t stainless, coatings like zinc plating or galvanisation are commonly used to keep rust at bay. You’ll often find these on utility doors, sheds, or anywhere budget and performance need to meet in the middle.
Powder-coated finishes are popular too – not just for corrosion protection but for giving a smooth, even colour. Black powder-coated hinges, for instance, are a staple in modern design schemes. And in some cases, the coating can hide fingerprints and smudges better than polished metals.
Decorative vs. Functional Finishes
Some finishes are purely cosmetic – others do double duty. For example, satin nickel offers a clean, modern look but still resists corrosion pretty well. Polished chrome is sleek and reflective, but it can show fingerprints easily and doesn’t offer much extra protection.
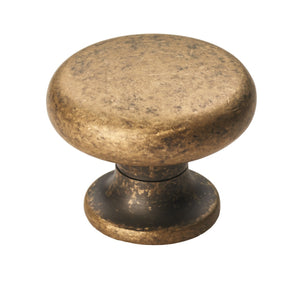
If you’re working in period-style interiors, antique brass or aged bronze finishes can complement traditional hardware. These often start as brass bases and are then chemically treated or lacquered to get that lived-in look.
Just bear in mind – while some decorative finishes look great, not all of them are tough enough for high-traffic spots like front doors or busy kitchen cabinets.
Quick comparison of hinge materials and finishes:
|
Material/Finish |
Durability |
Best Use |
Look/Style |
|
Stainless Steel |
High |
Bathrooms, outdoors |
Clean, industrial |
|
Brass |
Medium |
Decorative interiors |
Warm, traditional |
|
Powder-Coated Steel |
High |
External doors, gates |
Matte, uniform colour |
|
Satin Nickel |
Medium–High |
Kitchens, internal doors |
Subtle, modern |
|
Antique Brass / Bronze |
Medium |
Period homes |
Aged, heritage |
Installing Hinges: A Step-by-Step Guide

Getting hinges fitted properly can make all the difference – not just to how things look, but to how smoothly they open, shut, and stay aligned over time. Whether you’re working with cabinet doors or full-sized interior ones, the process is fairly similar. Here’s how to do it right the first time.
Tools and Materials Needed
You won’t need anything fancy, just the basics:
-
Hinges (of course)
-
Screws (usually supplied with the hinge)
-
Pencil
-
Tape measure or ruler
-
Chisel
-
Hammer
-
Drill and drill bits
-
Screwdriver
-
Spirit level (for doors)
-
Safety glasses (just in case)
Proper Hinge Placement
Where you position your hinges matters more than people often realise. Too low or high, and the door might sag or bind. As a general rule:
-
For full-sized doors: Fit one hinge 150mm from the top, another 230mm from the bottom, and a third in the middle (especially for heavier doors).
-
For cupboards: Two hinges are usually fine – top and bottom, spaced evenly.
-
For piano hinges: These run the entire length, so placement isn’t an issue – just make sure it’s flush and central.
Use a pencil to mark where the hinges will sit, then check alignment with a level before you start cutting or drilling.
Securing and Testing the Hinge
This bit’s where everything needs to stay steady. Use your chisel to create a shallow recess (called a mortice) so the hinge plate sits flush with the surface – especially for butt hinges.
Once that’s done:
-
Mark the holes: With the hinge in place, use a pencil to mark where your screw holes will go.
-
Pre-drill: This stops the wood from splitting and makes it easier to drive screws in straight.
-
Attach the hinge: Start with one screw, check your alignment, then add the rest.
-
Check the swing: Open and close the door or panel a few times – it should move smoothly without scraping or sticking.
-
Adjust if needed: For concealed hinges, you can usually tweak the position slightly using built-in adjustment screws.
Step-by-Step Instructions
-
Measure and mark your hinge positions using a pencil.
-
Use a chisel to cut a recess so the hinge sits flush (skip this for surface-mounted or concealed hinges).
-
Hold the hinge in place and mark screw holes.
-
Drill pilot holes to prevent wood splitting.
-
Screw the hinge to the frame or cabinet first.
-
Align the door or panel, then mark and attach the other side of the hinge.
-
Test for smooth operation and make any small adjustments if needed.
Hinge Maintenance and Troubleshooting
Most hinges don’t need constant attention – but every now and then, a squeak, wobble or stubborn swing will show up. A bit of care can stop small niggles turning into full-on replacements. Here's how to keep things in good nick and what to do when they start to act up.
Lubrication and Cleaning
Over time, dust, grime and dried-up lubricant can all slow things down. A simple clean and oil can often bring a hinge back to life.
Use a soft cloth to wipe away any obvious dirt. For metal hinges, especially stainless steel ones, a dab of multi-surface cleaner can help remove build-up. Once clean, apply a little silicone spray or 3-in-1 oil to the hinge pin. Open and close the door a few times to work the lubricant in properly. Avoid using thick greases – they tend to attract more dust than they solve.
For concealed hinges, a cotton bud or straw applicator helps you get into the tighter parts without overdoing it.
Fixing Loose or Squeaky Hinges
Loose hinges usually show up as doors that don’t sit straight or handles that rattle when shut. The fix is usually simple: tighten the screws. If they’ve stripped the hole, try one of these:
-
Use longer screws to bite into fresh wood
-
Fill the hole with matchsticks and wood glue, then re-screw
-
Plug with a dowel and re-drill if it’s really worn out
As for squeaks – they’re nearly always down to friction. A clean and a quick spray usually sorts them, but if not, remove the hinge pin, wipe it down, oil it lightly, and tap it back in place.
Replacing a Damaged Hinge
Sometimes, the only fix is a full swap – especially if the hinge is bent, cracked, or rusted beyond saving.
To replace a hinge:
-
Support the door or panel securely.
-
Unscrew the damaged hinge, keeping screws safe if you plan to reuse them.
-
Line up your new hinge in the exact same spot – this helps avoid re-drilling or shifting alignment.
-
Screw in place and test movement as you go.
If you’re switching hinge types (say, from butt to concealed), be ready to fill old screw holes and re-measure before installing.
Common hinge problems and quick fixes:
-
Squeaky hinge → Clean and lubricate
-
Door sagging → Tighten or replace screws
-
Hinge rusting → Replace with rust-resistant version
-
Misaligned door → Check hinge spacing or add a third hinge
Choosing and fitting the right hinge doesn’t need to be complicated. With the right tools, a bit of planning, and a few simple checks, you’ll end up with a finish that works, lasts, and actually looks the part – whether it’s for your home, a build, or a bigger design project.