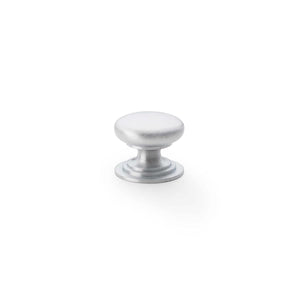
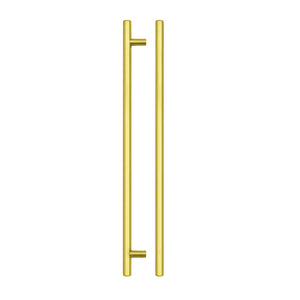
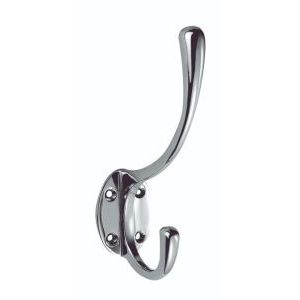
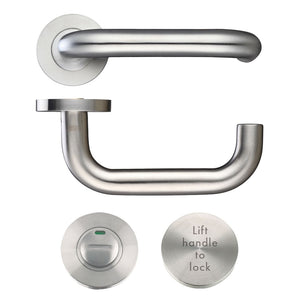
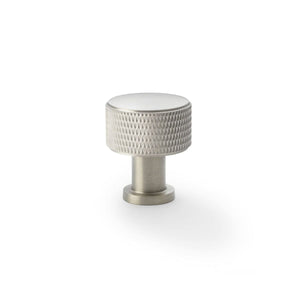
How to Replace Internal Door Handles in 10 Minutes
If you’ve got 10 minutes, a screwdriver, and a bit of patience, then you’re already most of the way there. Swapping out a tired or wobbly internal handle might sound like a job for someone with a van and a toolbelt – but really, it’s more or less a quick and satisfying DIY win you can take on yourself. This guide walks you through exactly how to replace a door handle in just a few simple steps. No guesswork, no splinters, and no swearing at tiny screws. Just a cleaner, tighter finish that makes your space feel more sorted.
What You’ll Need
Before you start, it helps to have everything within arm’s reach. You don’t need a massive toolkit – just a few basics, and you’re good to go. Here’s what usually does the trick:
- Phillips or flat-head screwdriver (depends on your current screws)
- Tape measure (for checking spacing if you’re switching styles)
- Pencil (lightly mark your hole placements, if needed)
- Optional: masking tape (helps keep surfaces clean while you work)
- Optional: small spirit level (for double-checking handle alignment)
- Optional: Allen key (sometimes needed for grub screws in modern sets)
That’s pretty much it. If you’ve ever hung a picture or put together flat-pack furniture, this will feel familiar – maybe even easier.
Step 1: Remove the Old Handle

Start by looking for the screws on your existing door handle. Most are visible on the faceplate, though some models hide them under a cover cap – just gently pop that off if you see one.
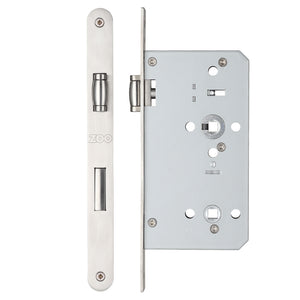
Loosen the screws on both sides of the handle, keeping a hand on the opposite side to stop anything dropping. Once they’re out, slide both halves off the door. The spindle – that square bar running through the latch – should slide out too. If it’s stiff, wiggle it gently or use a flat-head screwdriver to coax it free.
Old handles can sometimes cling on due to years of paint or swelling. If yours won’t budge, score lightly around the edges with a craft knife, or tap behind the plate with a rubber mallet wrapped in cloth.
Unless your latch is damaged, you can usually leave it in place. We’ll check that in the next step.
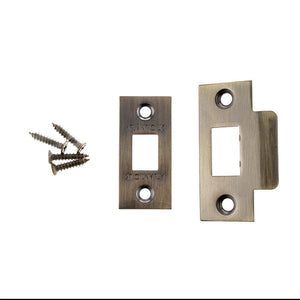
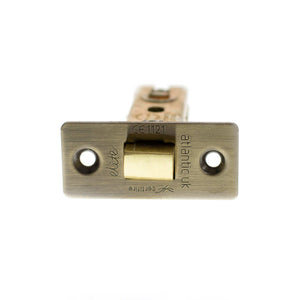
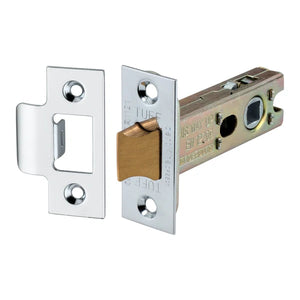
Step 2: Check the Latch and Spindle

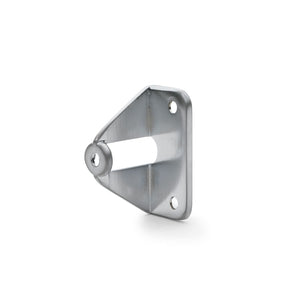
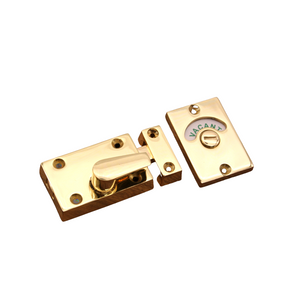
Now that the old handle’s off, have a quick look at what’s left behind. The latch – that little bolt that slides in and out – should move smoothly when pushed with your finger. If it sticks, clicks awkwardly, or feels loose, it might be time to replace internal door hardware altogether.
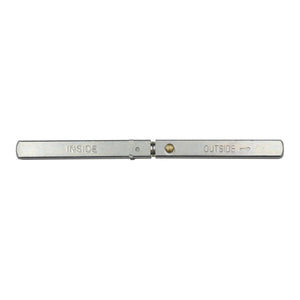
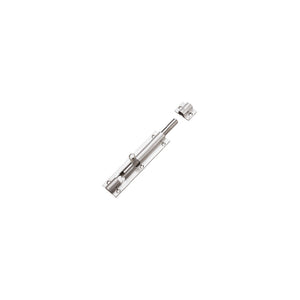
Next, check the spindle. This metal bar connects both sides of the handle and turns the latch. If it’s rounded off at the ends, bent, or showing rust, it’s worth swapping. Most modern handles come with a new one anyway, so you’ll likely be covered.
One quick trick: slide the spindle into the latch and twist it with your fingers. If the latch moves freely and springs back, you’re in good shape. This step is key to getting the fitting door latch and spindle right, and saves you hassle down the line.
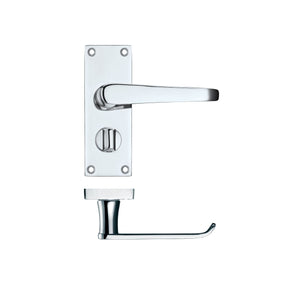
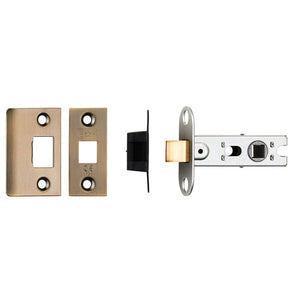
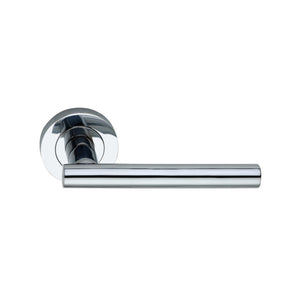
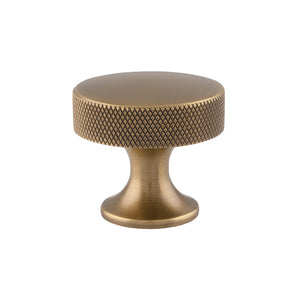
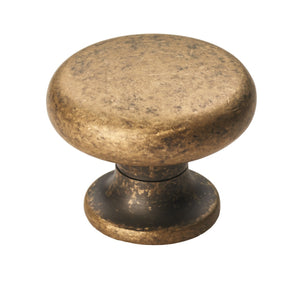
Step 3: Fit the New Handle

With the latch and spindle checked, it’s time for the fun bit – putting the new handle in place. Start by sliding the new spindle through the latch so it sticks out evenly on both sides of the door. That’s the bit that keeps everything lined up.
Next, hold one side of the new handle against the door and guide the spindle into its slot. Do the same with the other half, keeping everything snug while you loosely fit the screws into the pre-drilled holes.
Before tightening fully, give the handle a quick test turn. If it moves freely and the latch responds cleanly, you’re good to go. Otherwise, adjust the handle slightly – even a small tilt can throw things off.
Once it’s aligned, tighten the screws bit by bit. You want them firm, not forced – overtightening can strip the wood or twist the plate. This part of your DIY door handle installation should feel steady, not stiff. Take your time – this is where it all starts to look finished.
Step 4: Secure and Test

Now that the handle’s fitted, it’s worth doing a proper test. Open and close the door a few times. Does the latch slide in and out without catching? Does the handle spring back smoothly? If anything feels off, it could be a misaligned spindle or plate – not a big fix, just loosen slightly and adjust.
As for the screws, check they’re firm but not overtightened. If the plate is bending or the handle feels tight, ease off a little. This part’s less about brute force and more about feel.
If the latch is sluggish, a small spray of lubricant can help. This final check is what separates a quick swap from a fast door handle change that actually lasts.
Quick Tips for a Smooth Swap
A few small checks can make a big difference, especially if this isn’t your first or last handle:
-
Dry-fit everything first – get the alignment right before screwing down fully.
-
Test the latch before finishing – it’s easier to tweak now than once everything’s tightened.
-
Keep spare screws – just in case one vanishes mid-job (it happens).
-
Check handle height if you’re matching others in the same room.
-
Don’t force it – handles should feel snug but not strained.
-
Know when to call backup – if the latch is jammed or the door’s warped, it might need more than just a new handle.
These simple habits make all the difference for confident, fuss-free results – handy as any interior door handle tips.
That’s it – your old handle’s out, the new one’s in, and the whole thing took about as long as a tea break. Sometimes, a small upgrade like this can make a room feel sharper without a big budget or major tools. If you’re tempted to do the rest of the house now, we’ve got every door handle style you could want here at Love Handles – all ready to fit, no faff required.